Sadness Heart Palace: blocks & barrier
Arrange the thought blocks and guide Sadness to the light. Use a cube to block the current. Leave the final barrier when Lunne says she needs to learn more about Estelle.
Solve the route, then leave at the story barrier
Help Sadness through the thought-block puzzles and follow the route downward. At the barrier near the end of the first visit, leave when Lunne explains that she needs to know more about Estelle. That barrier is a story checkpoint rather than another block-position puzzle.
The first part rewards moving obstacles and guiding the emotion. The final barrier asks for information from outside the Palace. Spending longer on the final room cannot supply that information.
Guide the emotion, not just Lunne
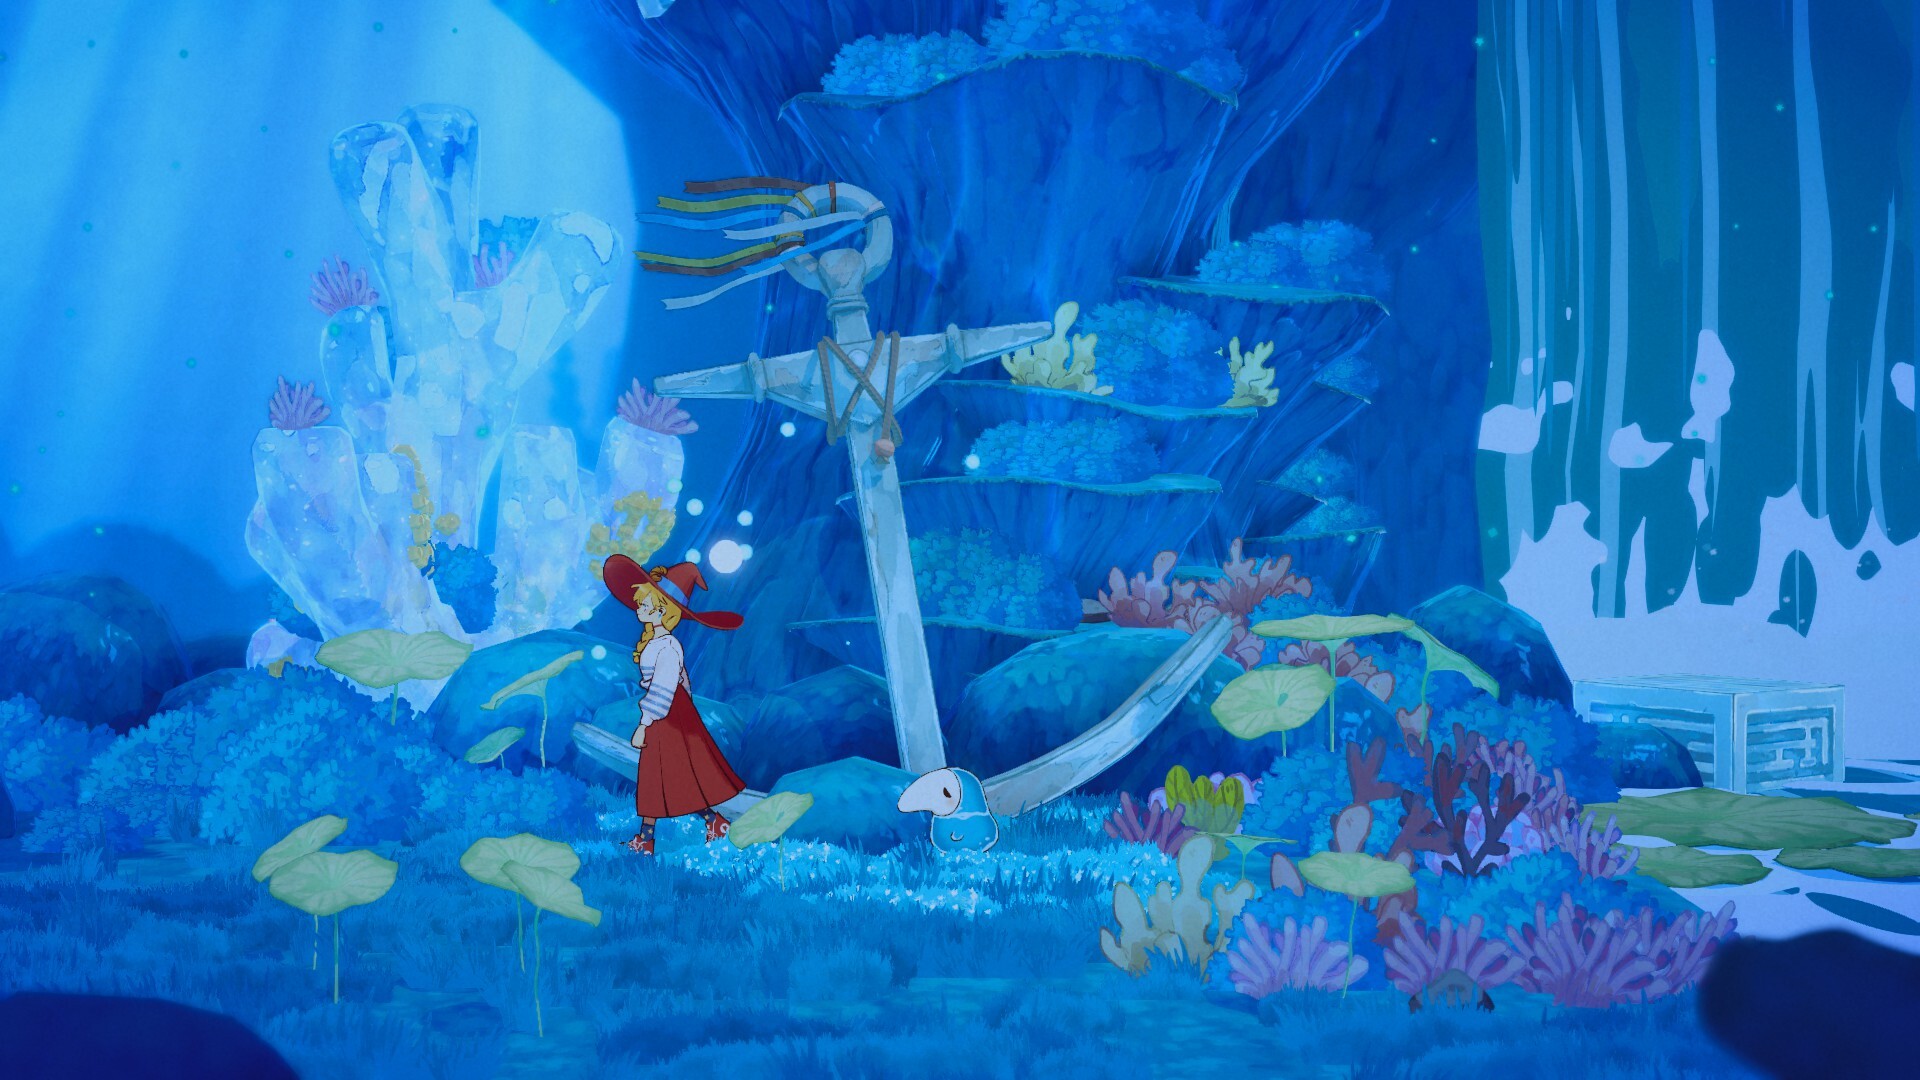
The goal is to help the personified emotion reach the heart. In this introductory visit, Sadness is the small blue figure with a pale, drooping face. Finding a path for Lunne alone is only part of a room's solution.
The game gives emotions and thoughts a physical form. This visit introduces movable thought blocks, memories, and routes that obstruct the emotion. Read the local prompts as each obstacle appears.
- Locate Sadness and the next opening or light-point interaction.
- Look at the movable blocks between the emotion and its destination.
- Arrange them so the visible path or light connection is usable.
- Guide Sadness through using the prompted interaction.
- Continue when the memory plays and the route opens.
This is the approach demonstrated in the early rooms. It does not give coordinates for later layouts or assume that all Heart Palaces share the same mechanism.
Complete the first thought-block puzzle
After meeting Sadness, the demo shows a small arrangement of movable blocks and a light-point interaction. The player finishes positioning the room but pauses because nothing happens. The next action is to use the emotion interaction and send Sadness to the light.
If your blocks seem ready but the opening remains shut, check the active prompt before dismantling the arrangement. A usable physical route and the action that completes the puzzle are separate steps.
Once the interaction completes, a memory plays and the way opens. Continue through the newly accessible route. That memory belongs to Estelle's story; it is not a separate collectible to buy from a shop.
The recorded example is around 59:37–1:00:39 in the demo playthrough.
Connect the later light path
Further down, the arrangement adds more pieces. The player moves a block upward, connects the visible light path, then uses the emotion interaction to continue.
Identify the broken connection before moving the nearest piece. Move the relevant block, inspect the path again, and guide Sadness through when it is ready. Changing several pieces at once makes it harder to see which one restored the route.
This demonstrated section is an environmental puzzle. Its solution uses the blocks and the emotion, rather than a combat attack. The second arrangement appears around 1:02:44–1:03:48, followed by another memory and a further descent.
Get past the current
The next section introduces a current across the route. The demonstrated solution uses a movable cube to block the stream, rather than continuing to walk against it. Put the cube where it interrupts the current, then use the cleared route.
If water still crosses the path, recheck the cube's position relative to the source and crossing. Moving it somewhere convenient for Lunne is insufficient if the stream remains unobstructed.
Players also asked why movement in Sadness areas sometimes felt fast and sometimes slow. The available material does not establish a fatigue meter, exact speed multiplier, or damage rule for those waves. Use the visible current as the immediate navigation clue rather than assuming you need a stamina upgrade for this obstacle.
The current-and-cube section is around 1:05:25–1:06:22 in the recording.
Recognize the barrier checkpoint
After the puzzles, Lunne reaches a barrier with an opening. She explains that she does not have the key and needs to learn more about Estelle. She promises to return, and the game directs her to leave for now.
| What you see | What to do |
|---|---|
| Earlier thought blocks are cleared | Continue the descent |
| The story barrier remains | Listen to Lunne's explanation |
| Lunne says she should leave | Return to the customer scene |
| Estelle remains troubled afterward | Continue her conversation and phone introduction |
You have not failed because Estelle's regret remains. Her business card leads to Lunne's message requesting accounting help. The phone then carries the next appointment information.
The barrier dialogue appears around 1:06:47–1:07:04. The following conversation and voicemail continue to approximately 1:09:34.
Journal confusion and the demo ending
One Steam player reported that Estelle's Active Quest entry appeared only after the initial run. That is a reported demo behavior, not a required journal setting or a confirmed full-game bug.
Finish the initial encounter's dialogue and Palace visit before deciding that an empty journal proves the quest is broken. Then check the phone. This route does not require save editing.
The demo closes before the scheduled continuation with Estelle. Another block layout cannot unlock a chapter outside its available content. The first-days route covers the encounter's surrounding steps. The release and romance FAQ separates this early demo from the full game's Chapter 2 introduction.
The route was checked against the February demo recording. The publisher description explains Heart Palaces, and the demo feedback thread contains the journal and movement reports.